
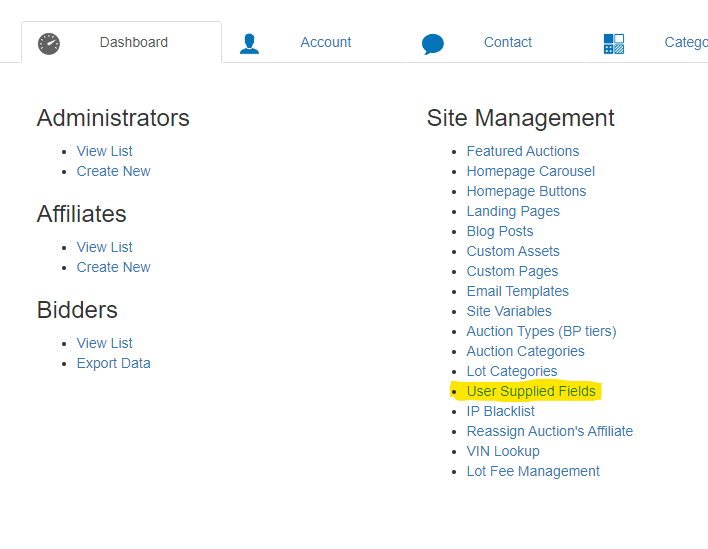
To create, edit or disable a user supplied field, go to 'Dashboard', then under 'Site Management', click 'User Supplied Fields'.
Creating a New Field
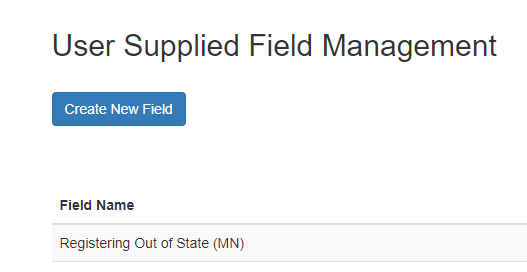
Click the blue 'Create New Field' button.
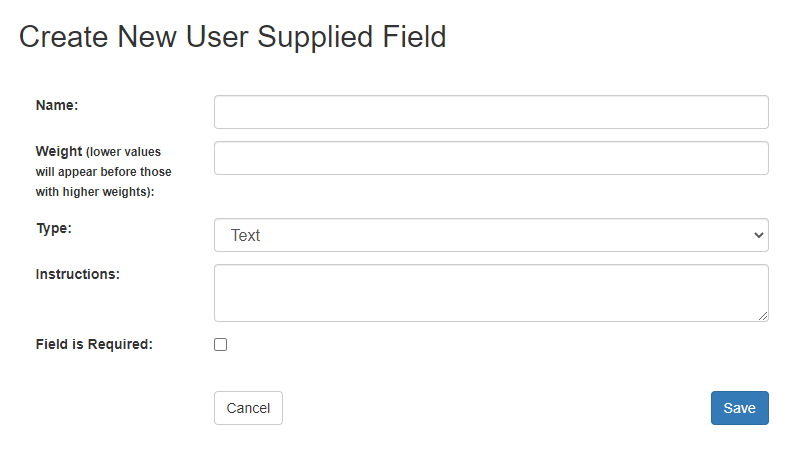
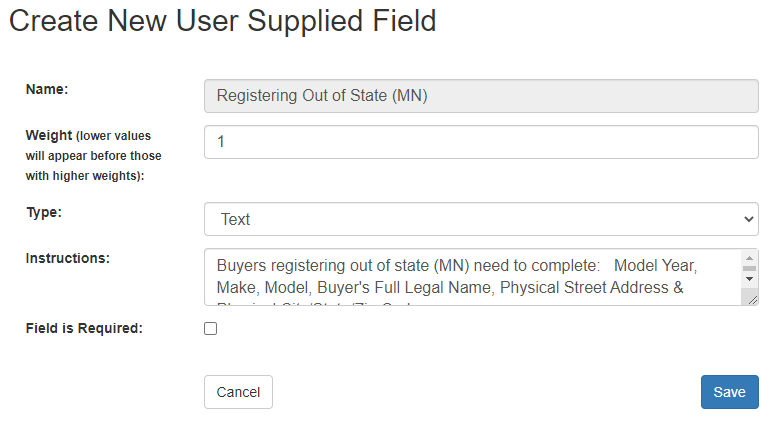
Enter the following for the new field:
- Name (this cannot be changed once the field has been created)
- Weight (where the field will be located within the form. The lower the number the closer to the top of the form it will be.)
- Instructions (notes on how field should be completed)
- Field is Required (check box if required)
Click save once you have completed entering the necessary information.
Editing a Field
Locate the field you wish to edit. At the end of the line for that field, click on edit.

Update the information listed as needed and click save once complete. Remember, the field name cannot be changed after the field has been created.
Disabling a Field
If a field is no longer needed, it can be disabled, by locating the field name within in the list and clicking disable.

Adding User Supplied Fields to a lot category
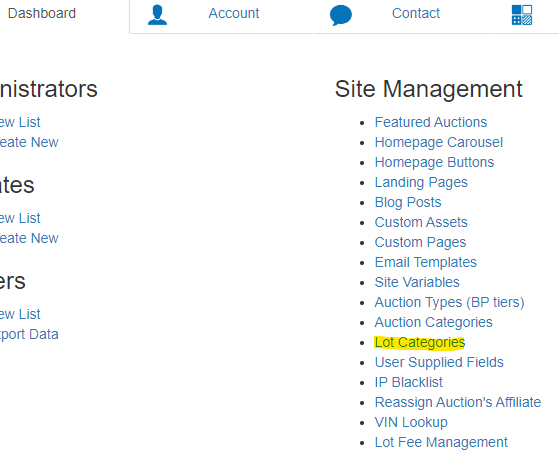
To add a user supplied field to a lot category, go to 'Dashboard', then under 'Site Management', click 'Lot Categories'.
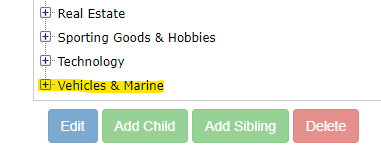
From the list, click on the plus sign next to the category name.
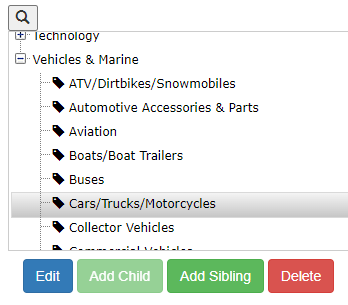
Choose the lot category name the user supplied fields will be added to. Then click the blue 'Edit' button.
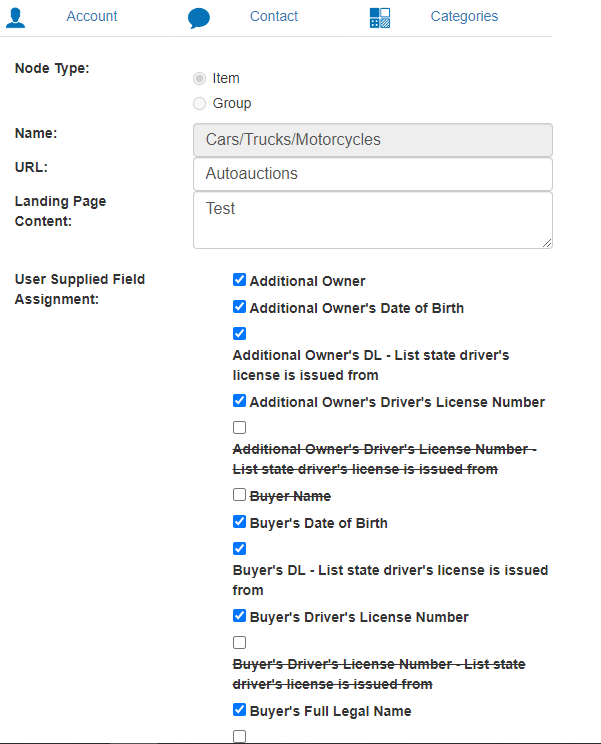
A list of all user supplied fields will be given. You can choose the fields you wish to add to or remove from the lot category by checking/unchecking the box in front of the field name. Once all relevant fields have been chosen, click on the Save button at the bottom of the list.
Comments
0 comments
Please sign in to leave a comment.